 NFT Collections")

AVAILABLE: 5
Nginx is an open-source HTTP server and proxy that can also function as an IMAP/POP3 proxy. The Nginx source code was written by a Russian citizen named Igor Sysoev in 2002 and released to the public in 2004.
Step 1: Update Package List
Before installing Nginx, first, update the package list on your server by running the following command:
$ sudo apt update
Step 2: Install Nginx
Once the update is complete, install Nginx by running the command below:
$ sudo apt install nginx
The output will look something like this:
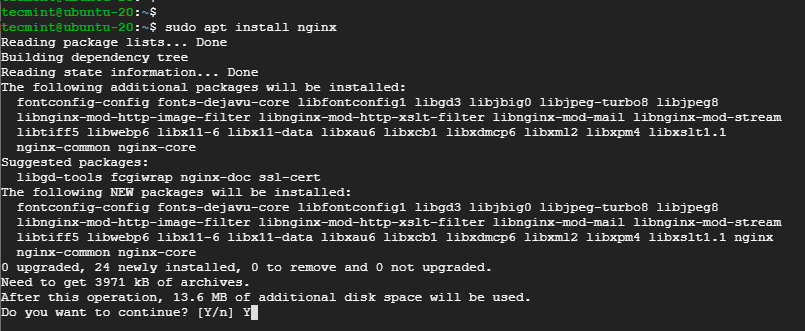
sudo apt install nginx
The system will then ask for confirmation to proceed with the installation. If you agree, press Y, and the installation process will take a few seconds.
Step 3: Verify the Installation
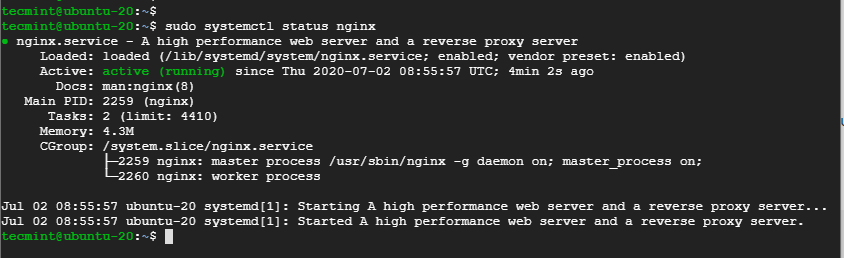
If the installation is successful, you can verify it by starting Nginx and checking its status with these commands:
$ sudo systemctl start nginx
$ sudo systemctl status nginx
The output will look similar to the one below, indicating that Nginx is running:
Final Step: Check the Installed Nginx Version
To check the version of Nginx currently running on your system, use the following command:
$ sudo dpkg -l nginx
The output will be something like this:

Alright, that's all for now, dev! In the next session, we'll discuss How to Open Nginx Ports on UFW Firewall.