- Create a ConstraintLayout.
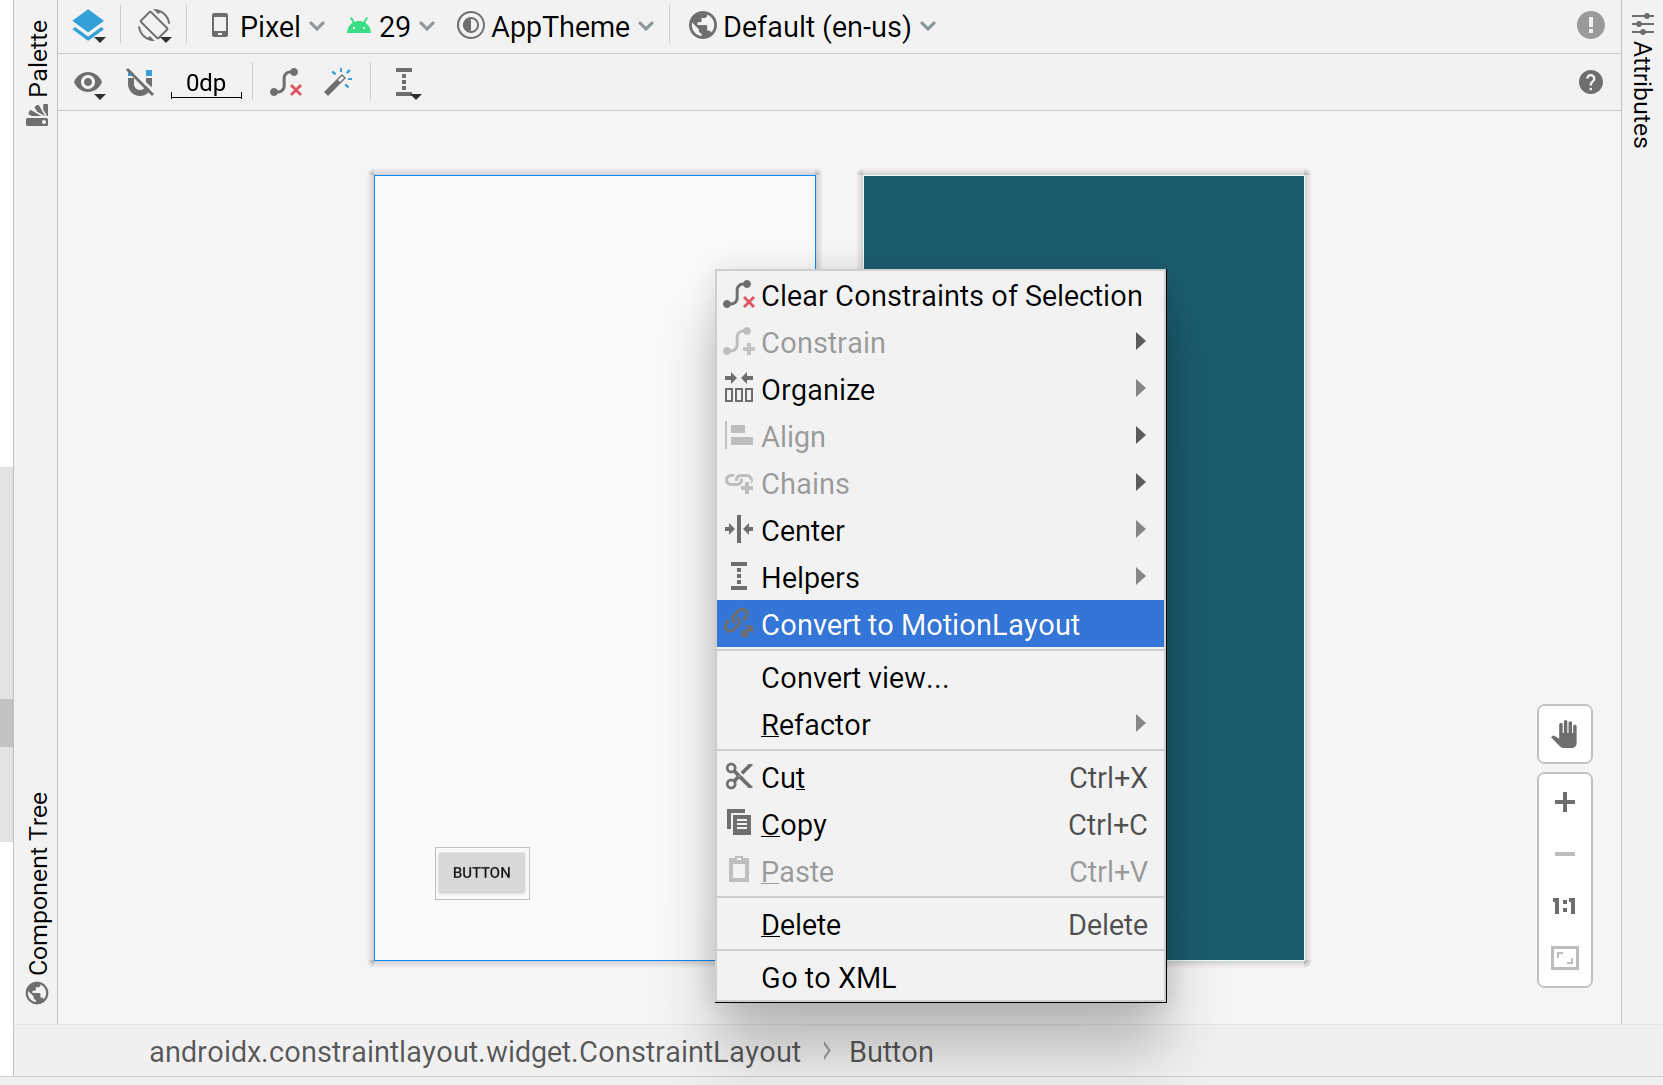
- Right-click on the preview in the Layout Editor.
- Click "Convert to MotionLayout," as shown below.Convert ConstraintLayout ke MotionLayout
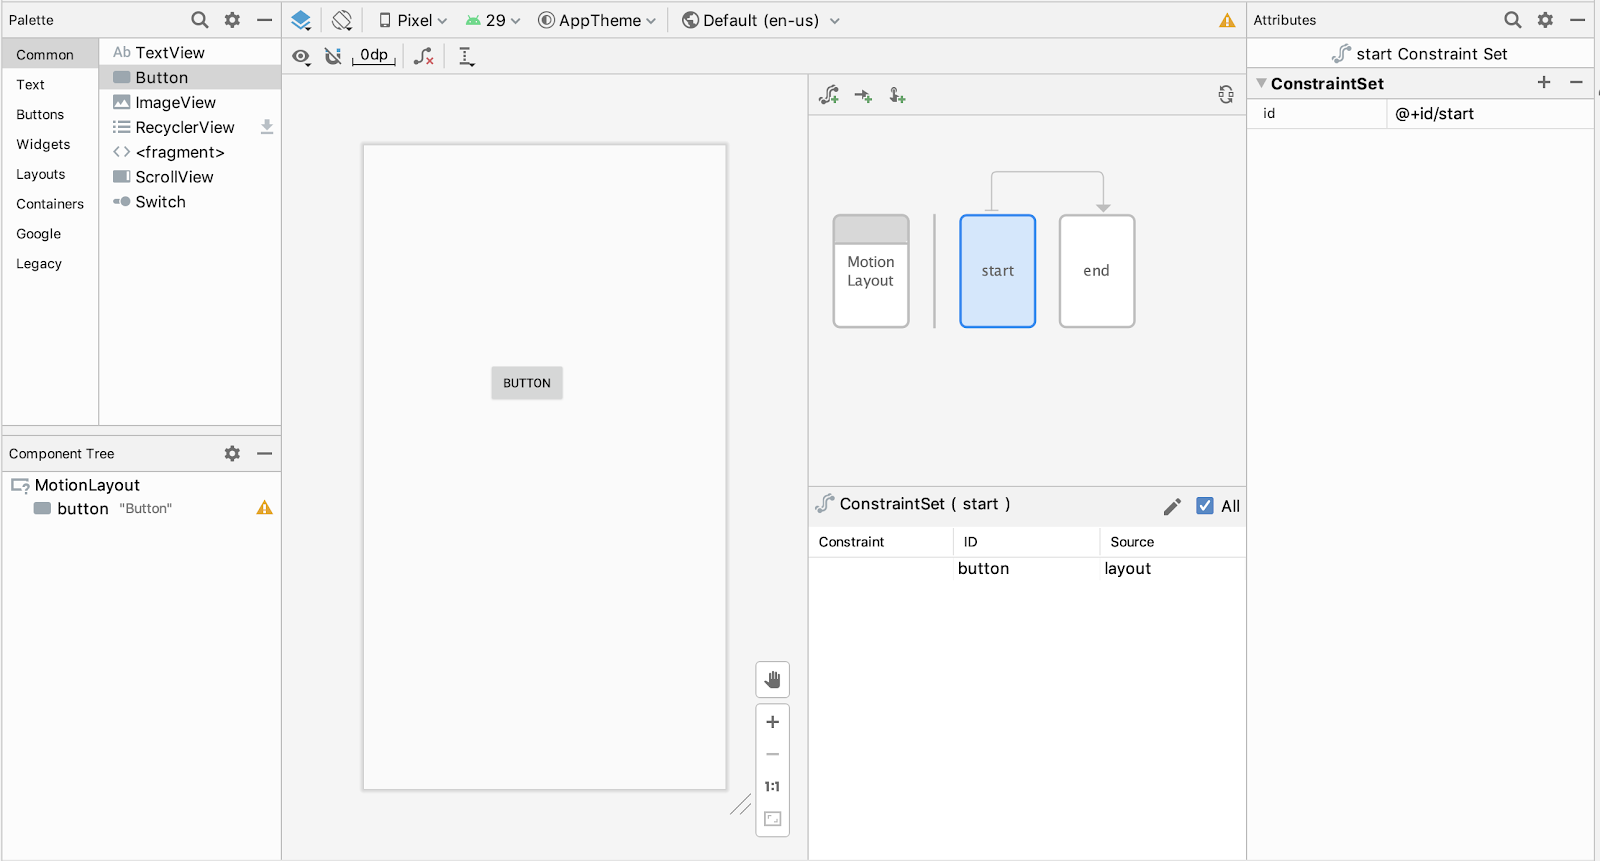
After Android Studio converts the ConstraintLayout to MotionLayout, a Motion Scene file (an XML file with _scene added to the layout file name) is also added to the directory containing your XML files.

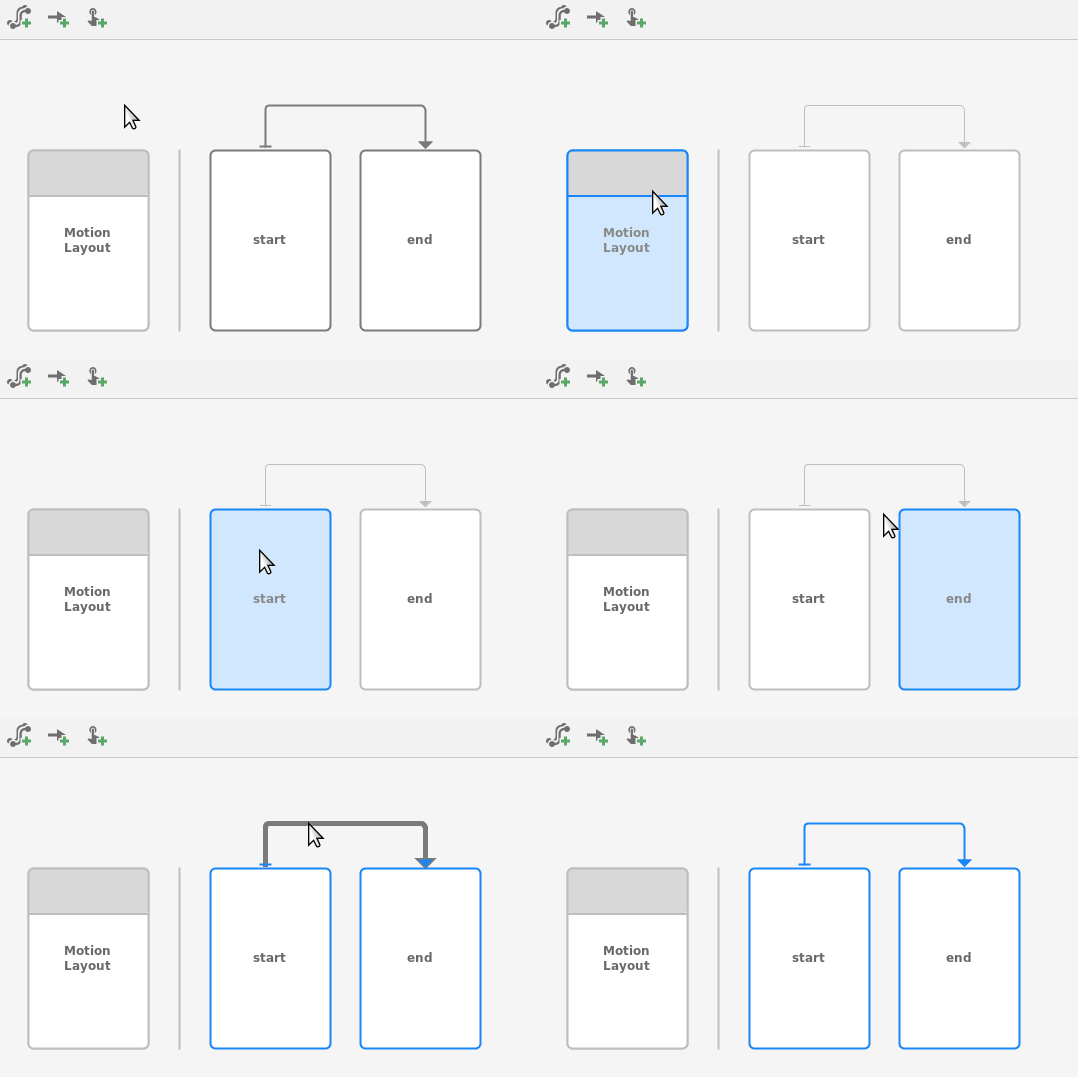
You can use the summary graphics to select a ConstraintSet or Transition and to choose components in the selection panel.
Then, you can edit constraints and attributes for the start or end ConstraintSet in the same way you edit ConstraintLayout.
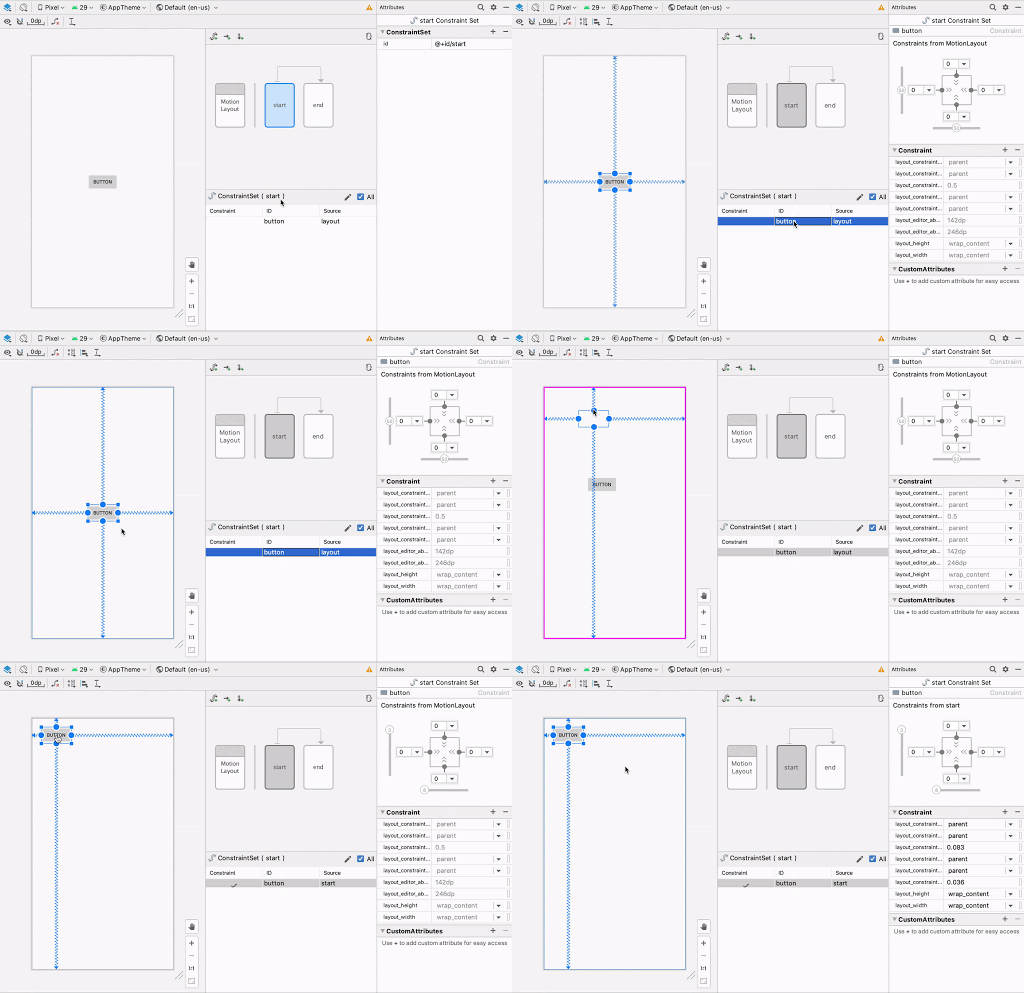
If you want to build more elements into the graphics, you can use the creation icons to quickly add gestures like ConstraintSet, Transition, or OnClick/OnSwipe.
![]()
To add a keyframe, first click the Transition arrow:
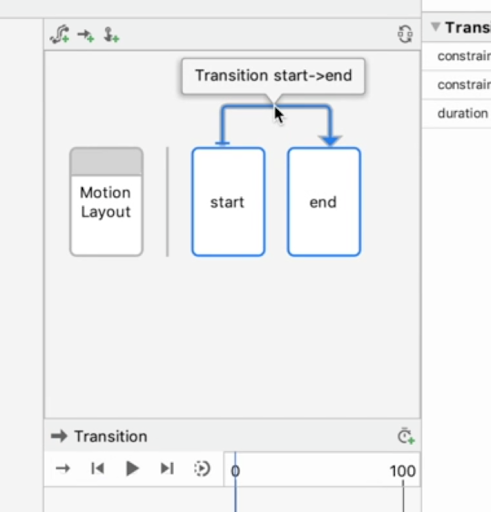
Then, in the Transition timeline panel, click the top-right corner and select KeyPosition:
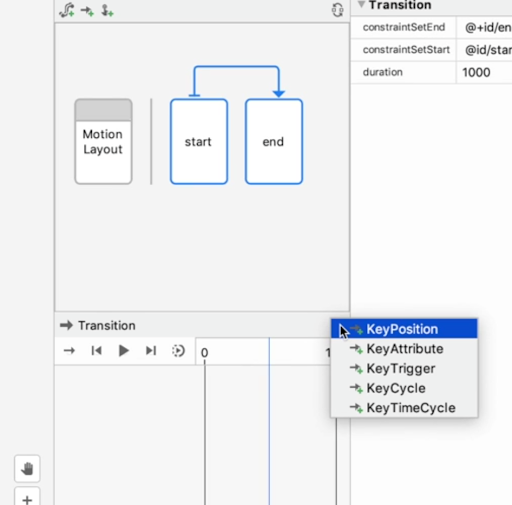
This opens a dialog where you can set attributes for the keyframe.
You can also add OnClick and OnSwipe handlers to the Transition in the attributes panel.
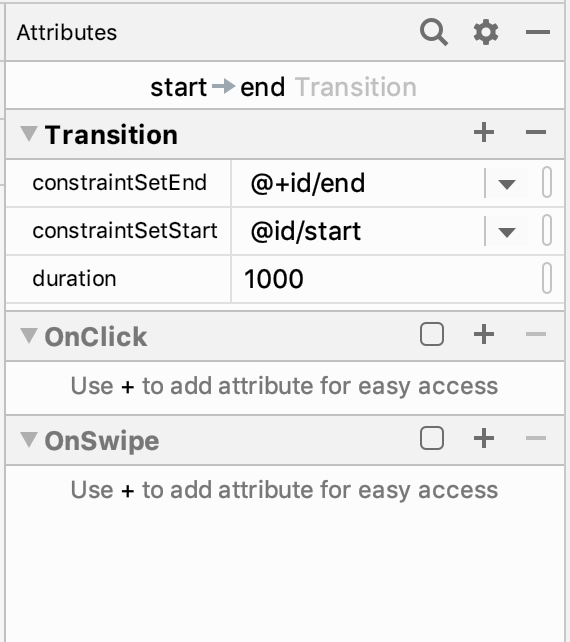
This action will open a dialog where you can set click attributes like the target component and drag direction.
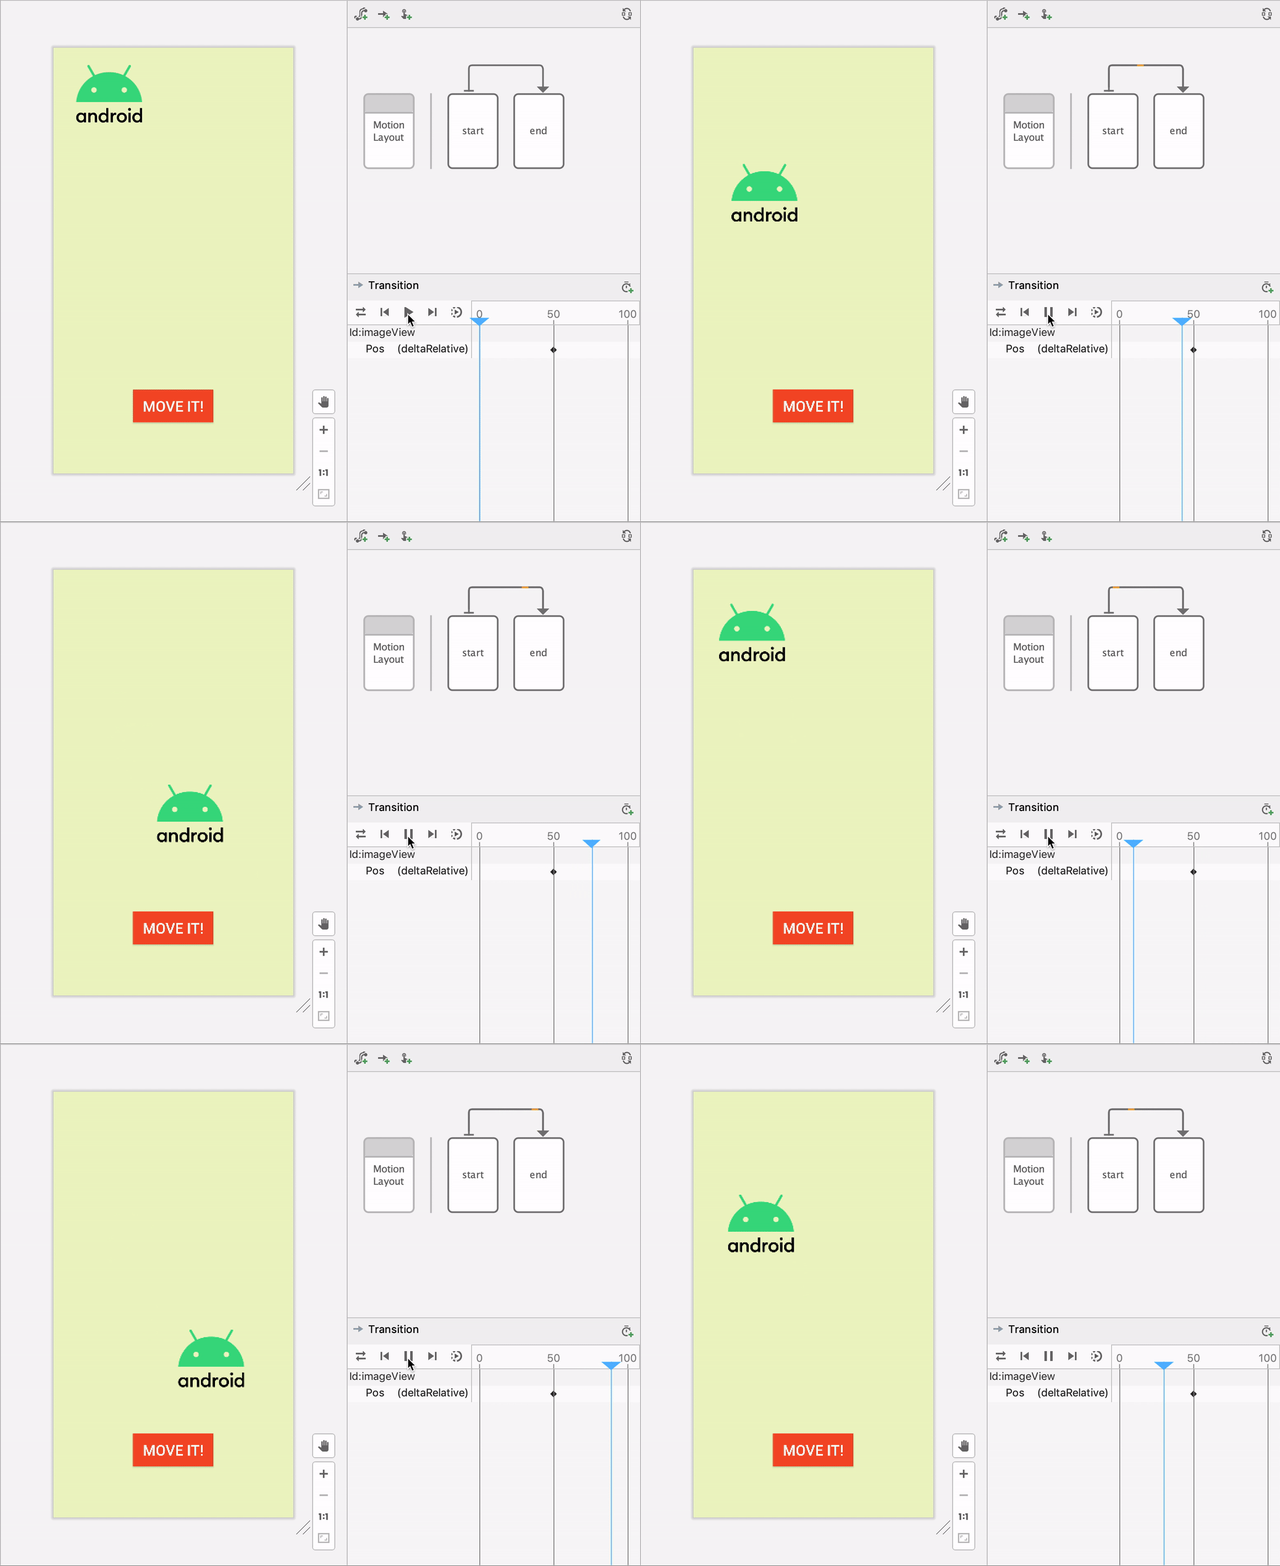
The Motion Editor supports animation previewing in the design platform. After selecting an animation, click Play above the timeline to preview the animation.
